GF Sourdough Bread with Kombucha Starter
Because warm homemade bread is basically love in carbohydrate form.
Two of my ‘kitchen’ goals for our little homestead this year were, 1) to keep my kombucha continuously brewing, and 2) to bake bread every week. We are gluten-free as my youngest son has some issues with digesting it and my daughter is allergic to eggs. This combination, added to the fact that we live in a village in the jungle where certain trendy luxuries (ie: GF cookies, bread and pizza) have never been heard of, means that if we are going to have treats, I pretty much have to make them myself. I was utterly delighted when I stumbled upon a website claiming that I could make my own sourdough starter from kombucha!
Yes, I know this makes me a little pathetic. But making bread with yeast that has been coaxed out of the very air and cultured in my kitchen makes my inner nutrition-geek extremely happy.
Here’s how you do it:
Making the sourdough starter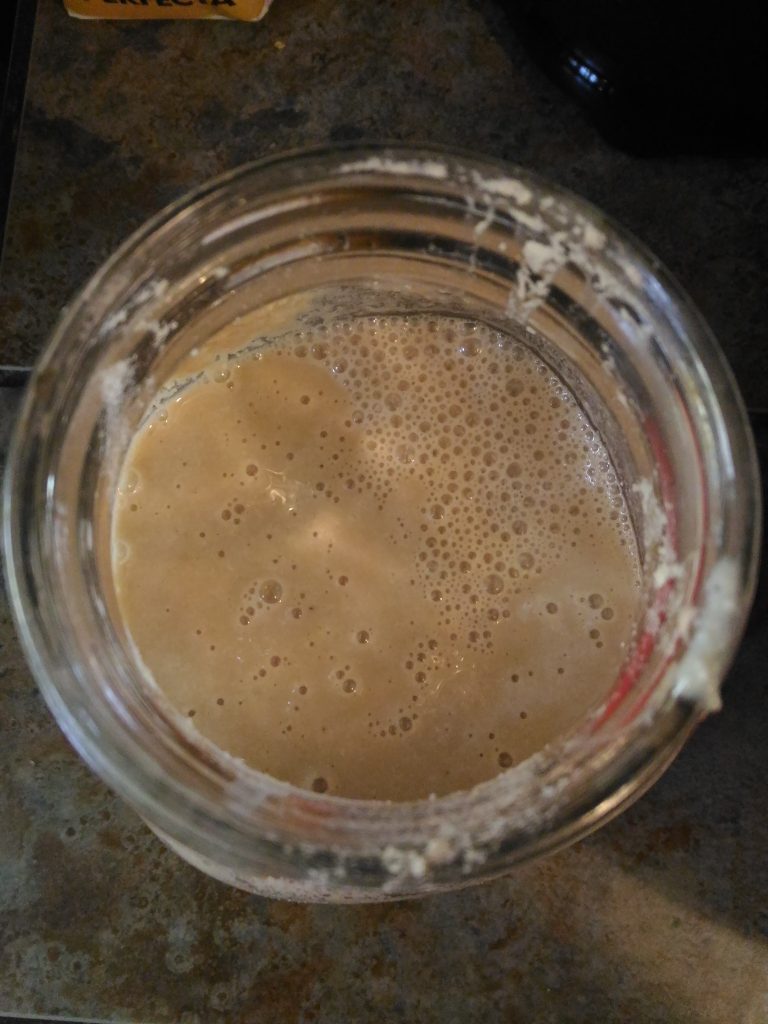
3 cups from the bottom of your kombucha (the thready, dusty looking stuff)
3 cups brown rice flour
It is difficult and expensive for me to buy rice flour here, so I make my own by simply throwing 3 cups of brown rice into my Vitamix and running it until the rice is completely ground down and feels reasonably fine. Mix together in a large glass jar, cover with a cloth and put in a dark place for roughly 24 hours or until it is bubbling.
Gluten Free Sourdough Bread (2 loaves)
5 cups of your starter mixture
2 cups chickpea flour
2 cups corn flour
2 cups water
4tbsp olive oil
6tbsp raw sugar
1tbsp salt
1) Mix all of your ingredients together thoroughly so there aren’t any lumps of flour remaining. The resulting mixture will be like cake batter, not a normal bread consistency. Line 2 loaf pans with parchment paper and pour the batter in. Leave somewhere warmish and dark to rise for 4 hours. Your remaining starter can either be added to with more kombucha and flour, or refrigerated until you want to ‘wake it up’ by feeding it again.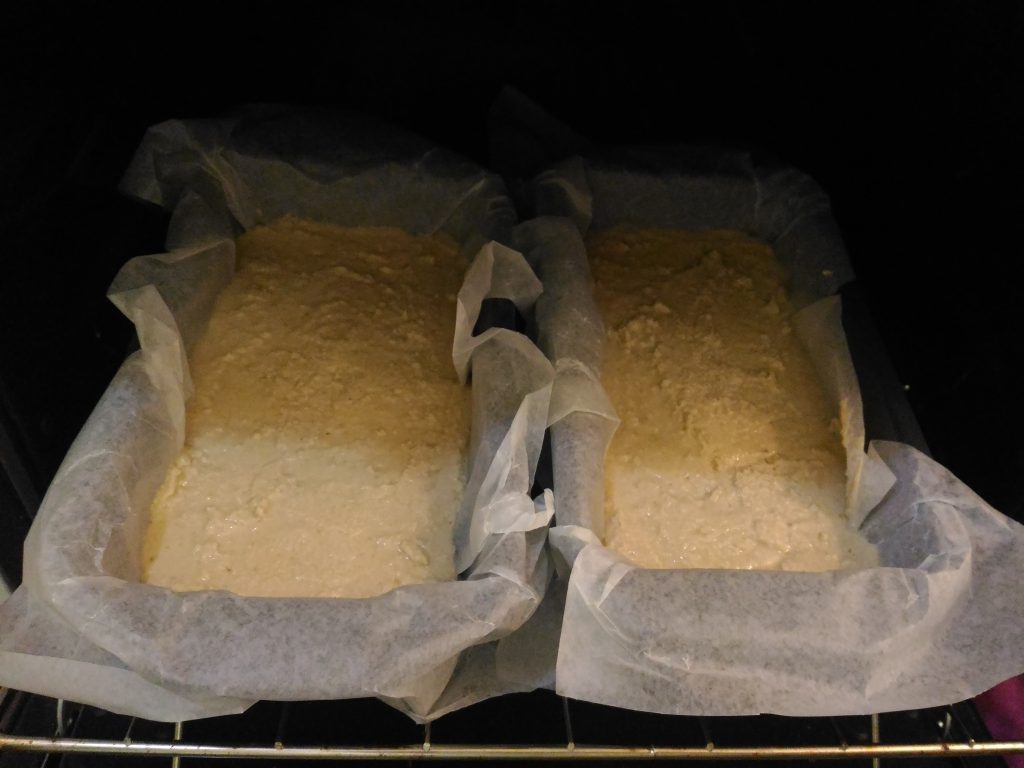
2) Now, here’s where it gets tricky. Because our oven doesn’t have temperatures on it, just number settings from 1-5. Welcome to Costa Rica folks! So, I baked this at number 3, which, I like to think is around 350F, but I’m really not sure, for about an hour. I would start checking it around 45 minutes though, just in case my temperature guess is really off!
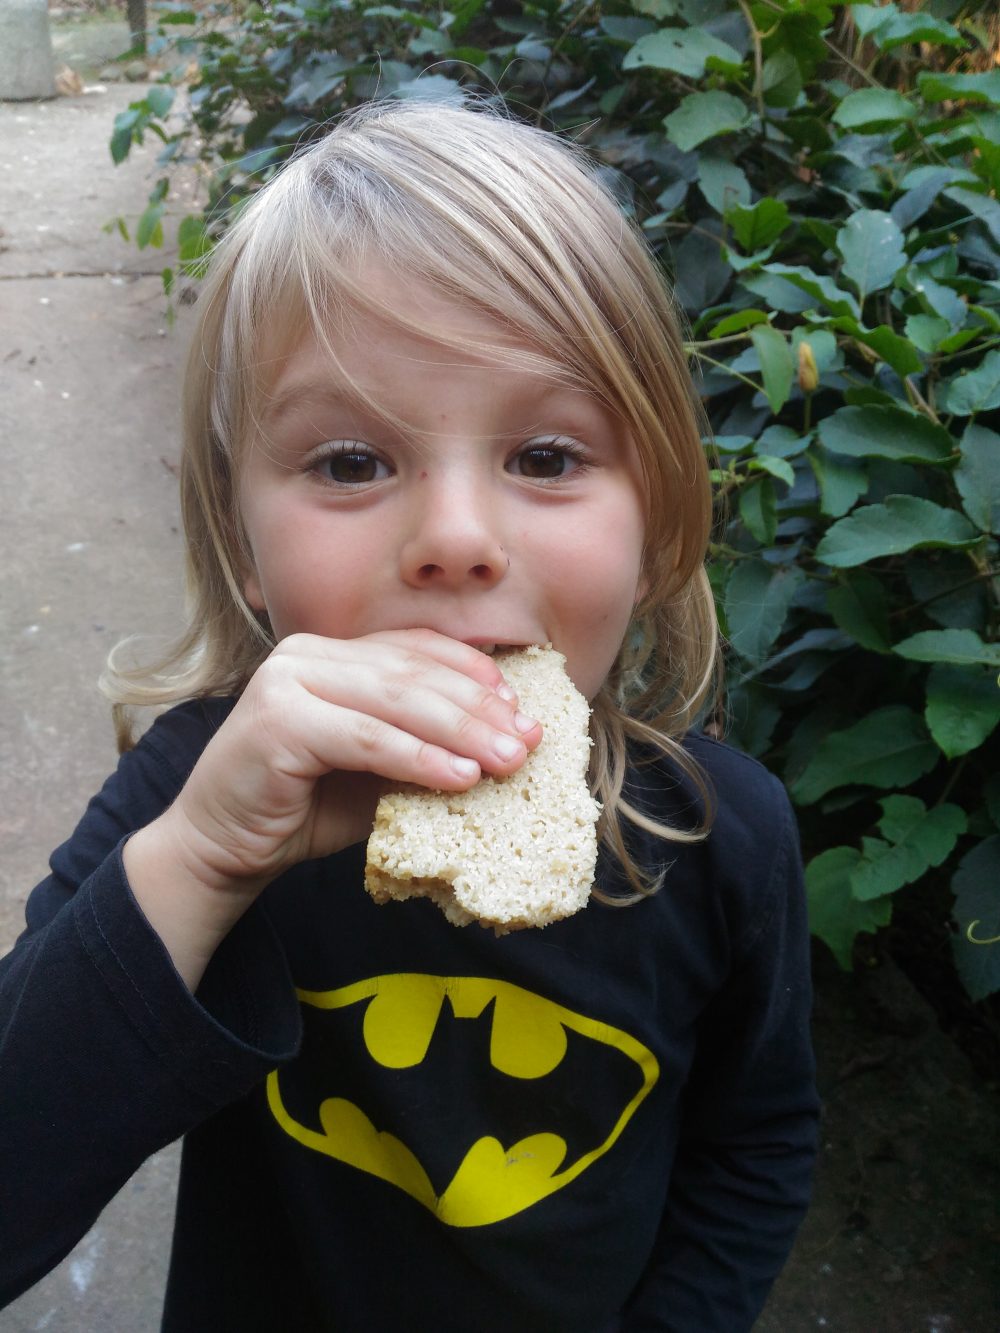
3) Remove from oven and let cool thoroughly before cutting. I always cheat here – I know you need to let it cool before it will slice nicely, but my kids are always in a frenzy by this point after smelling baking bread for an hour and I pretty much have to cut off a few crumbly slices right away to appease them. Because warm homemade bread is basically love in carbohydrate form.
One other tip if you’re new to baking bread: when you remove the loaves from the oven, spread a little butter (or coconut oil if you’re trying to keep it vegan) over the top. Supposedly, this keeps the crust soft. I don’t know if it really makes much difference, but more butter is always a good thing, so I do it anyways.
That’s it! I’ve only had a chance to make this a few times and wanted to solidify my basic recipe first without messing with it, but next time I will definitely be filling it with cinnamon and raisins.
Be Amazing!
Alexis
admin
Instructor, practitioner, speaker and writer for Specialized Kinesiology. Homeschooling homesteading in the jungle. Mother of Dragons.